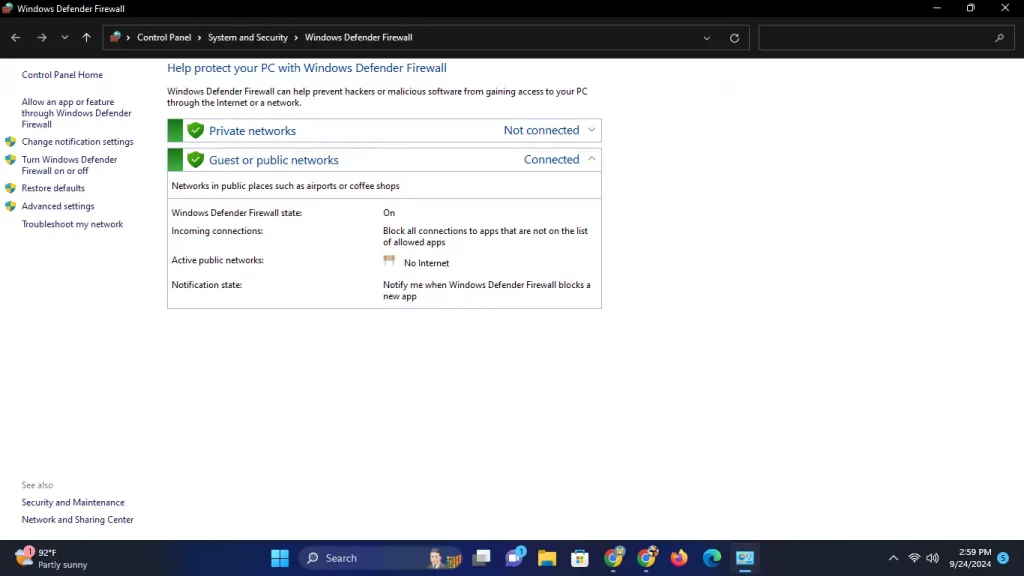
Windows Defender is a built-in security feature in Windows operating systems that helps protect your computer from malware, viruses, and other security threats. However, there may be times when you need to disable it, such as when installing certain software or troubleshooting. In this guide, we will explore various methods of how to disable Windows Defender while ensuring that you understand the implications of doing so.
Reasons To Consider Disabling Windows Defender
- Software Installation: Some programs may conflict with Windows Defender, causing installation issues.
- Performance: In certain cases, disabling Windows Defender can improve performance, especially on older systems.
- Using Third-Party Antivirus: If you’ve installed a third-party antivirus program, you may want to disable Windows Defender to prevent conflicts.
Important Considerations
Before proceeding to disable Windows Defender, consider the following:
- Disabling your antivirus software exposes your system to potential threats. Make sure to have alternative security measures set up.
- Windows Defender will automatically re-enable itself after a certain period or upon restarting your computer, so you may need to repeat these steps as needed.
Method 1: Disable Windows Defender via Windows Security
- Open Windows Security:
- Click the Start menu, then choose Settings (the gear icon)..
- Navigate to Update & Security > Windows Security.
- Click on Virus & threat protection.
- Manage Settings:
- Scroll down to the Virus & threat protection settings section and click on Manage settings.
- Turn Off Real-time Protection:
- Toggle off the switch under Real-time protection. You might get a prompt asking for confirmation.
- Close Windows Security: Once you’ve turned off real-time protection, you can close the Windows Security window.
Method 2: Disable Windows Defender via Group Policy (Windows Pro and Enterprise)
If you’re using Windows Pro or Enterprise, you can disable Windows Defender through the Group Policy Editor.
- Open Group Policy Editor:
- Press Windows + R to open the Run dialog.
- Type gpedit.msc and press Enter.
- Navigate to Windows Defender Settings:
- Go to Computer Configuration > Administrative Templates > Windows Components > Windows Defender Antivirus.
- Disable Windows Defender:
- Find the policy named Turn off Windows Defender Antivirus and double-click it.
- Select Enabled and click OK.
- Close the Group Policy Editor: The changes will take effect immediately.
Method 3: Disable Windows Defender Using the Registry Editor
Disabling Windows Defender through the Registry Editor is an advanced method that requires caution.
- Open Registry Editor:
- Press Windows + R to open the Run dialog.
- Type regedit and press Enter.
- Backup the Registry:
- Before making changes, it’s wise to back up your registry. Click on File > Export, choose a location, and save it.
- Navigate to Windows Defender Key:
- Go to HKEY_LOCAL_MACHINE\SOFTWARE\Policies\Microsoft\Windows Defender.
- Create a New DWORD Value:
- Right-click in the right pane, select New > DWORD (32-bit) Value.
- Name the entry DisableAntiSpyware and set its value to 1.
- Close Registry Editor: Exit the Registry Editor, and the changes will take effect.
Conclusion
How To Disable Windows Defender! Disabling Windows Defender can be necessary for various reasons, but it’s important to proceed with caution. Always ensure you have another antivirus solution in place to protect your system from potential threats. Whether you choose to disable it temporarily or permanently, follow the steps outlined in this guide to manage Windows Defender effectively.
If you decide to re-enable Windows Defender, you can easily follow the same steps and toggle the protection settings back on. Stay safe and secure while using your Windows PC!
